
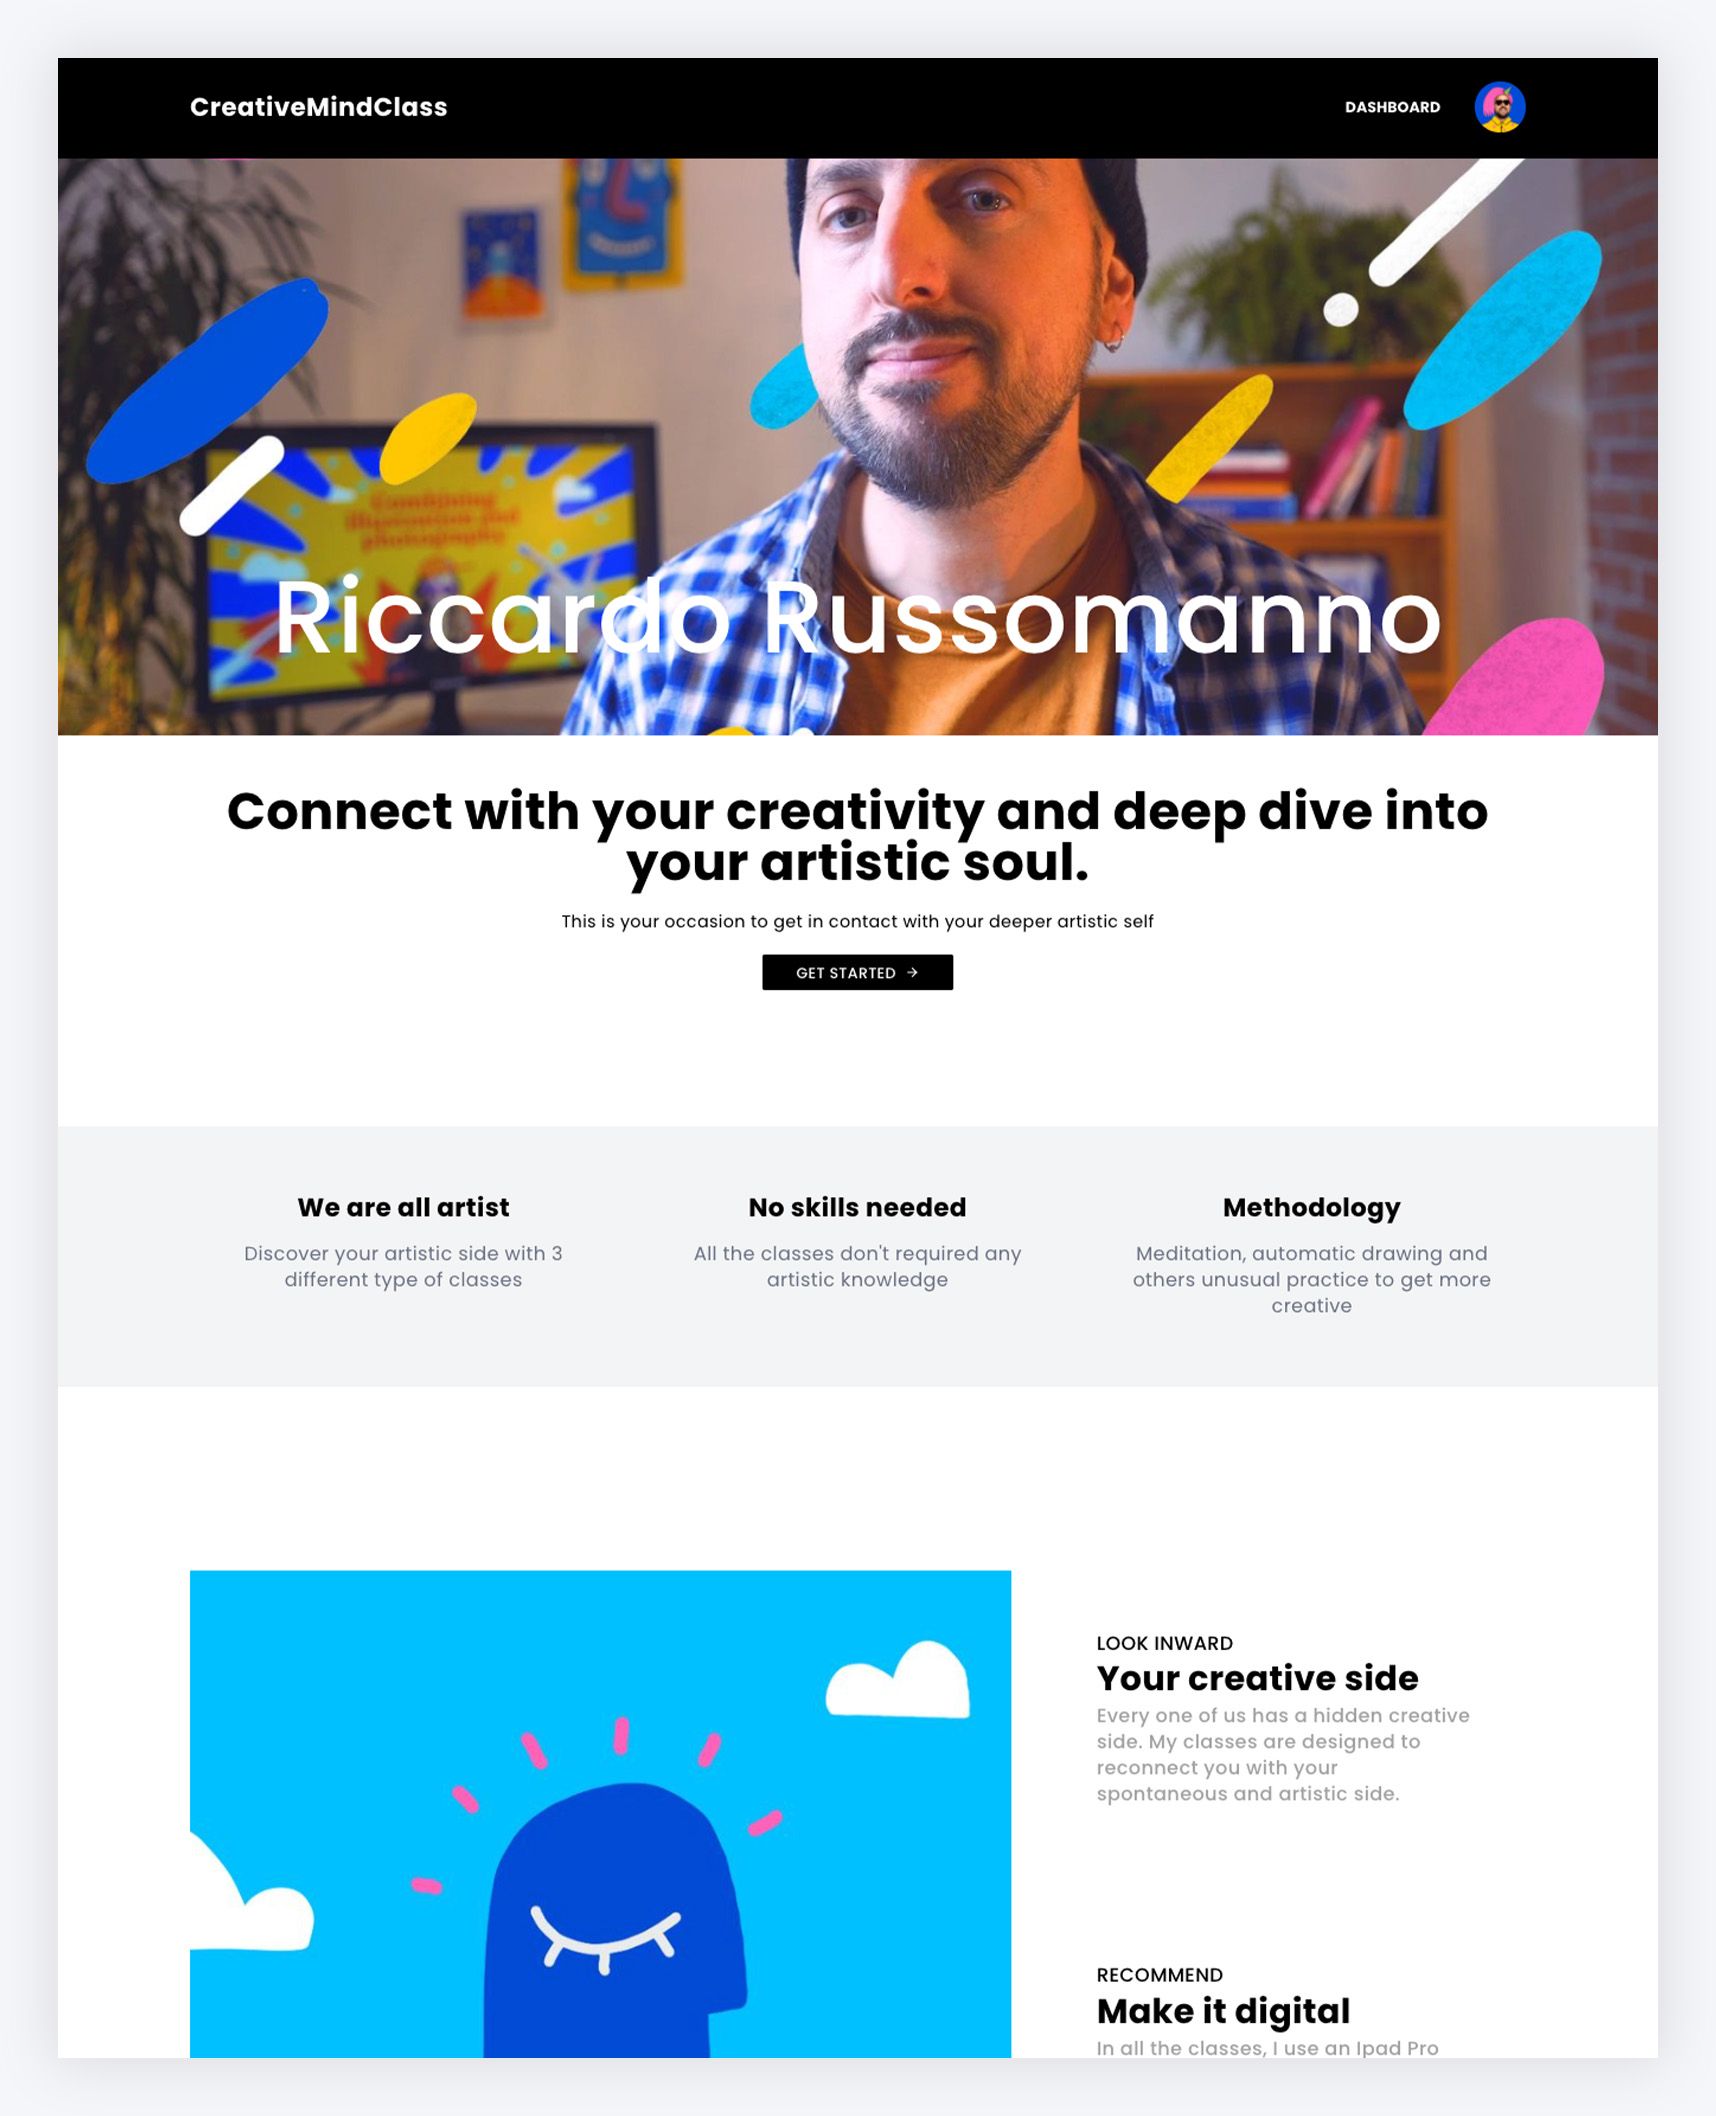
online course template for artist

Design a stunning visual site for your art class.
If you are a gifted artist, an online course can be a fantastic way to share your skill-set.
Add your pictures and upload them onto the website of your course, including the lessons, files that can be downloaded, and exercises help you build the online course you've always desired.
Creating an online course with CreativeMindClassis simple. Make use of the pre-filled template to build a gorgeous website. It saves time and ensures the visual coherence.
How do you use this template
- Begin with a pre-designed template
- Your course's name
- Write a description
- Add lessons
- Add visuals
- Add downloadable files
- Add exercises
- Use it to share with your viewers
What is the best way to utilize this template
No matter if you're an illustrator, 3D artist, an animator, or video producer, follow this step-by-step tutorial to master the method of creating an online art course using Creativemindclass, a free tool that is used by the top artists.
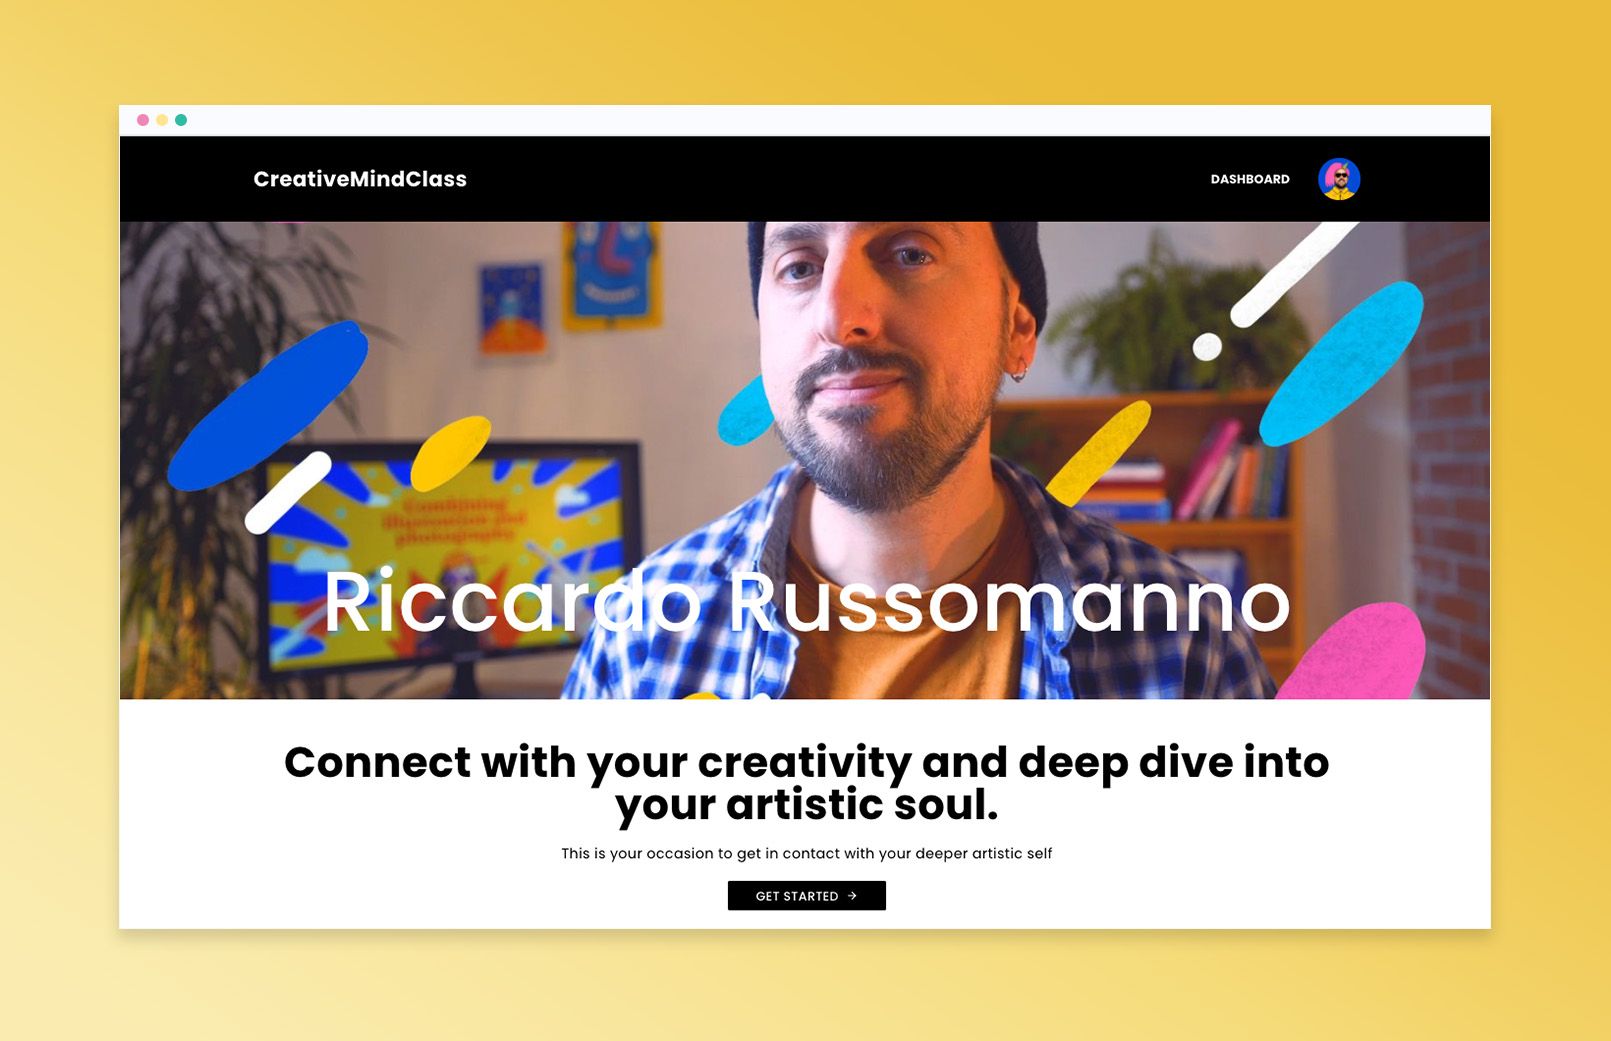
1. Begin with a template that has been designed for you.
The Photography Online Course website template includes a stunningly designed website with layouts for course pages and placeholders for videos as well as pre-filled content with images, and copy. Just drag & drop your material into courses to build an online website for your course in minutes.
How do I accomplish this in CreativeMindClass
- Choose a visual art template.
- Edit the content. Add your copy and images.
2. You can name your course
Next, you must name your course. When you've finished your website start brainstorming ideas for a course name that includes relevant keywords.
Keep it simple and avoid the use of technical terms. Opt to go with a catchy, emotionally-charged title that invites people to read, click and purchase.
For the name of your online course, click on the class title and change the pre-filled title.
How to do it within CreativeMindClass
- Type the word "CLASS TITLE"to identify your class.
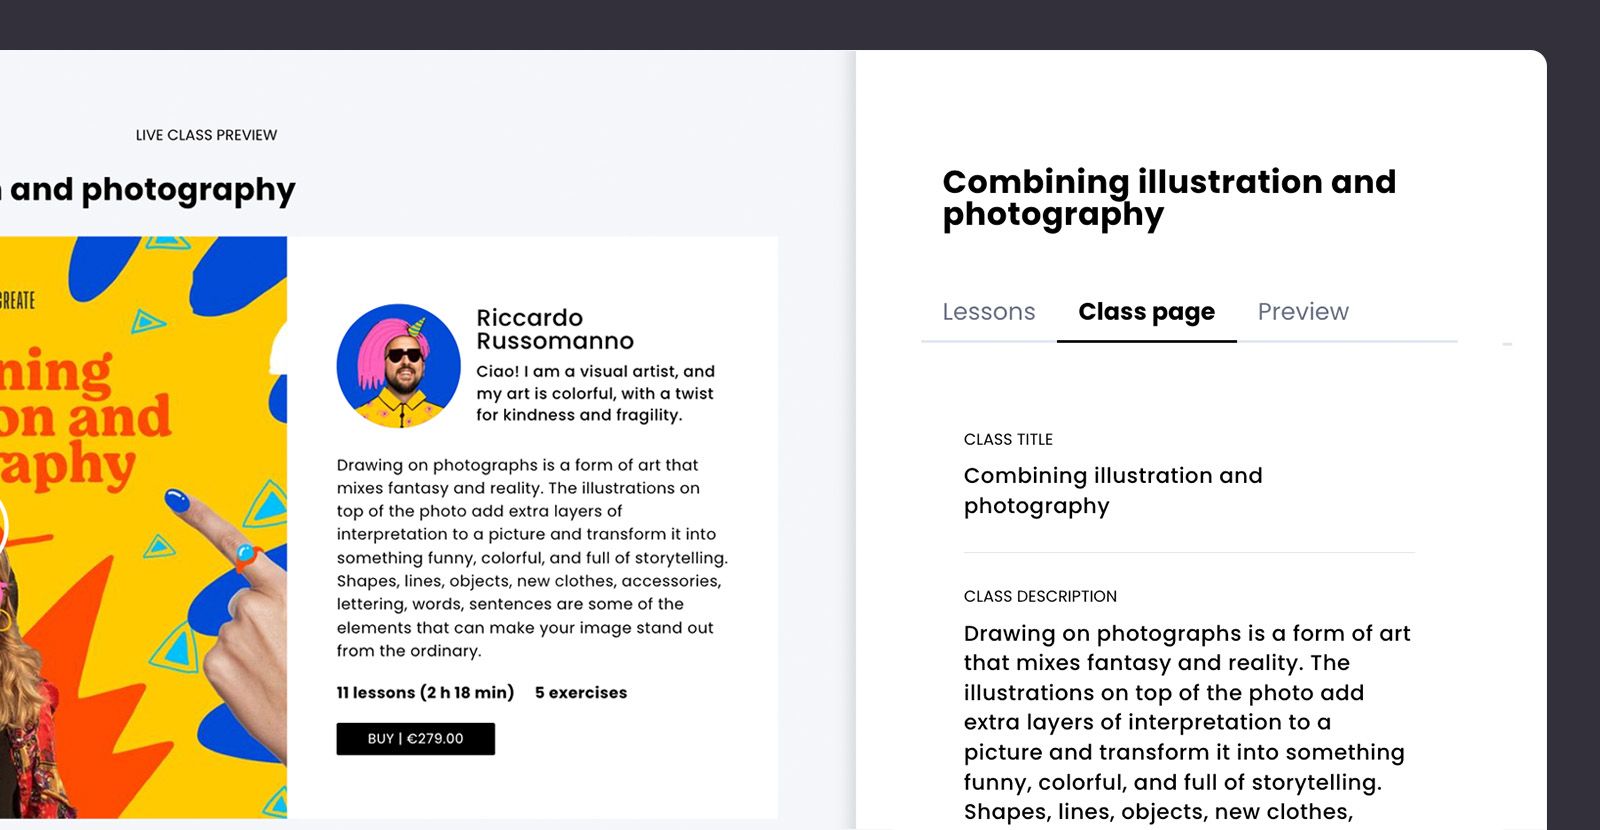
3. Write a description
Now that you have the course's name, begin making the description. A course description online is a brief outline of the content and learning objectives.
To write an effective online course description, begin by introducing yourself clearly, define the content of the course, and specify the goals of learning as well as the required prerequisites. Make use of language that is simple to comprehend, include the personal touch, as well as include a call-to action.
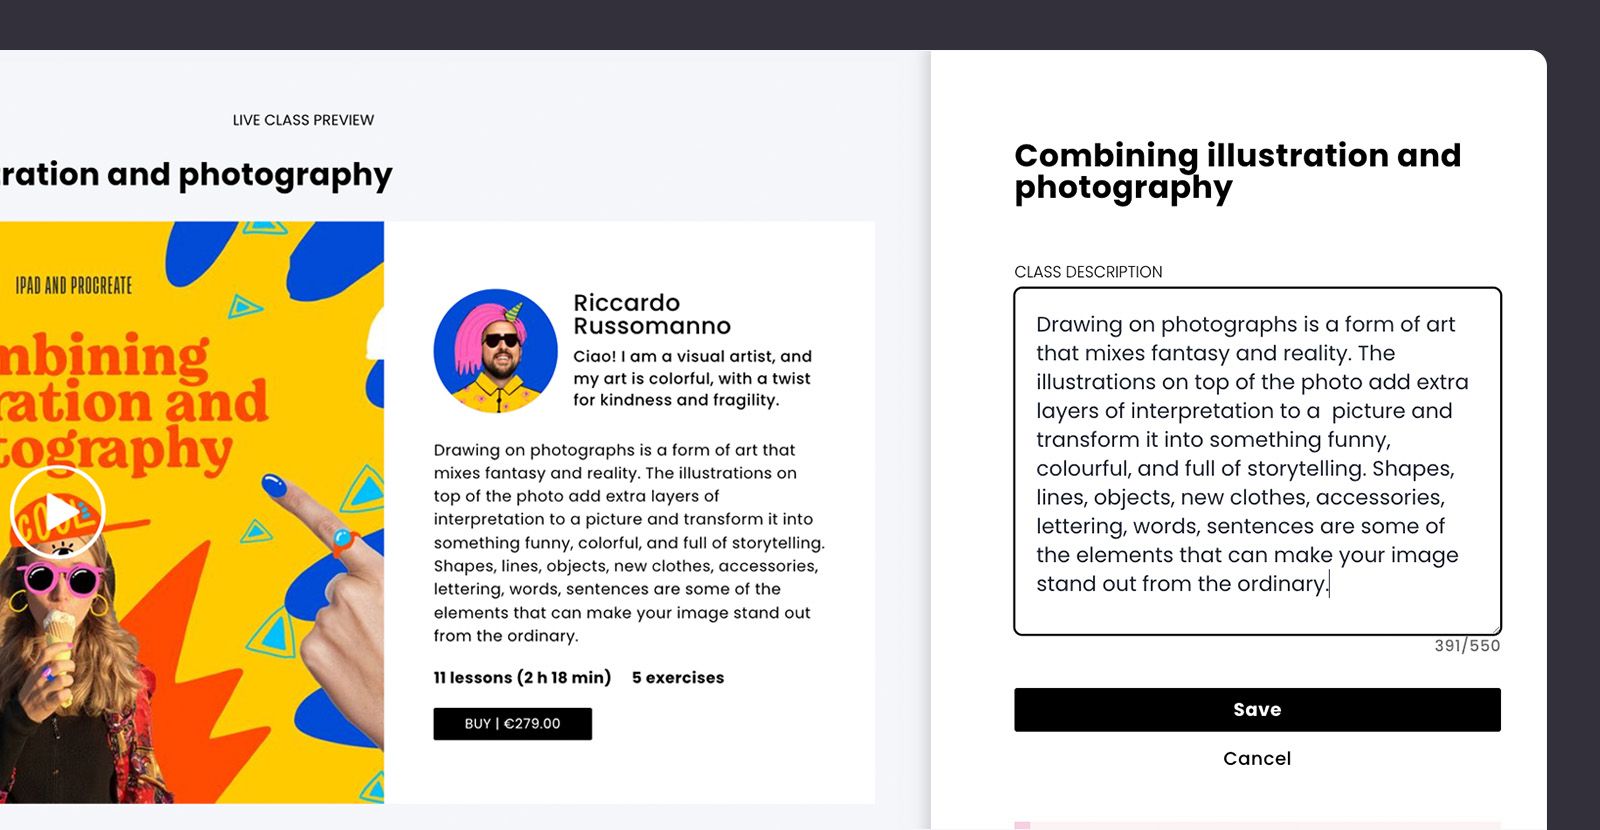
What is it? in CreativeMindClass
- Use the form the CLASS DESCRIPTIONto send your your.
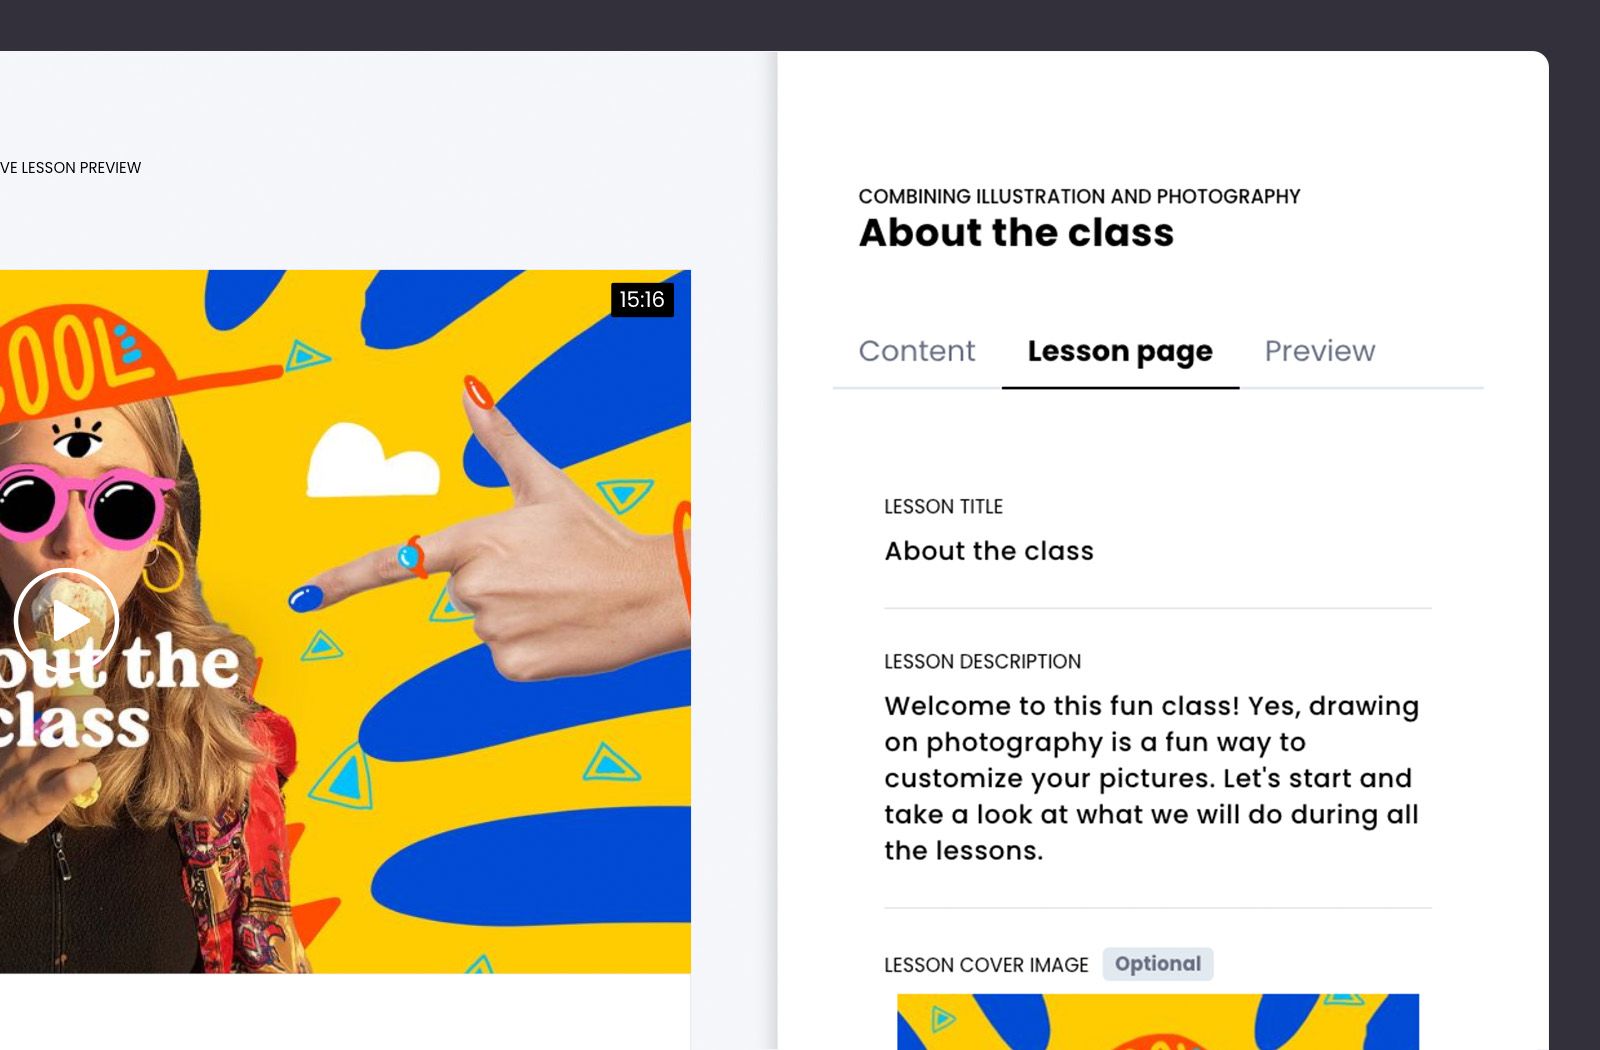
4. Add lessons
Are you ready to add lessons? Each lesson includes a title as well as a description and information in the form of an image or PDF.
What topics could you discuss in just 3-10 mins of video tutorials? Begin by introducing yourself and showing the best of your work explaining the equipment, lighting as well as hands-on tasks You can also include edits and post-production.
How to do it in CreativeMindClass
- Click Add LESSON option to create the new lesson.
- In Lesson page tab, type LESSON TITLE.
- Incorporate 10-20 lessons into the course.
5. Create images
Visual artists, you're in the fortunate position that you can create captivating content. Make use of this through the incorporation of video, images, and animations into your course materials. This will not only help to break up text-heavy content but can also reinforce key concepts.
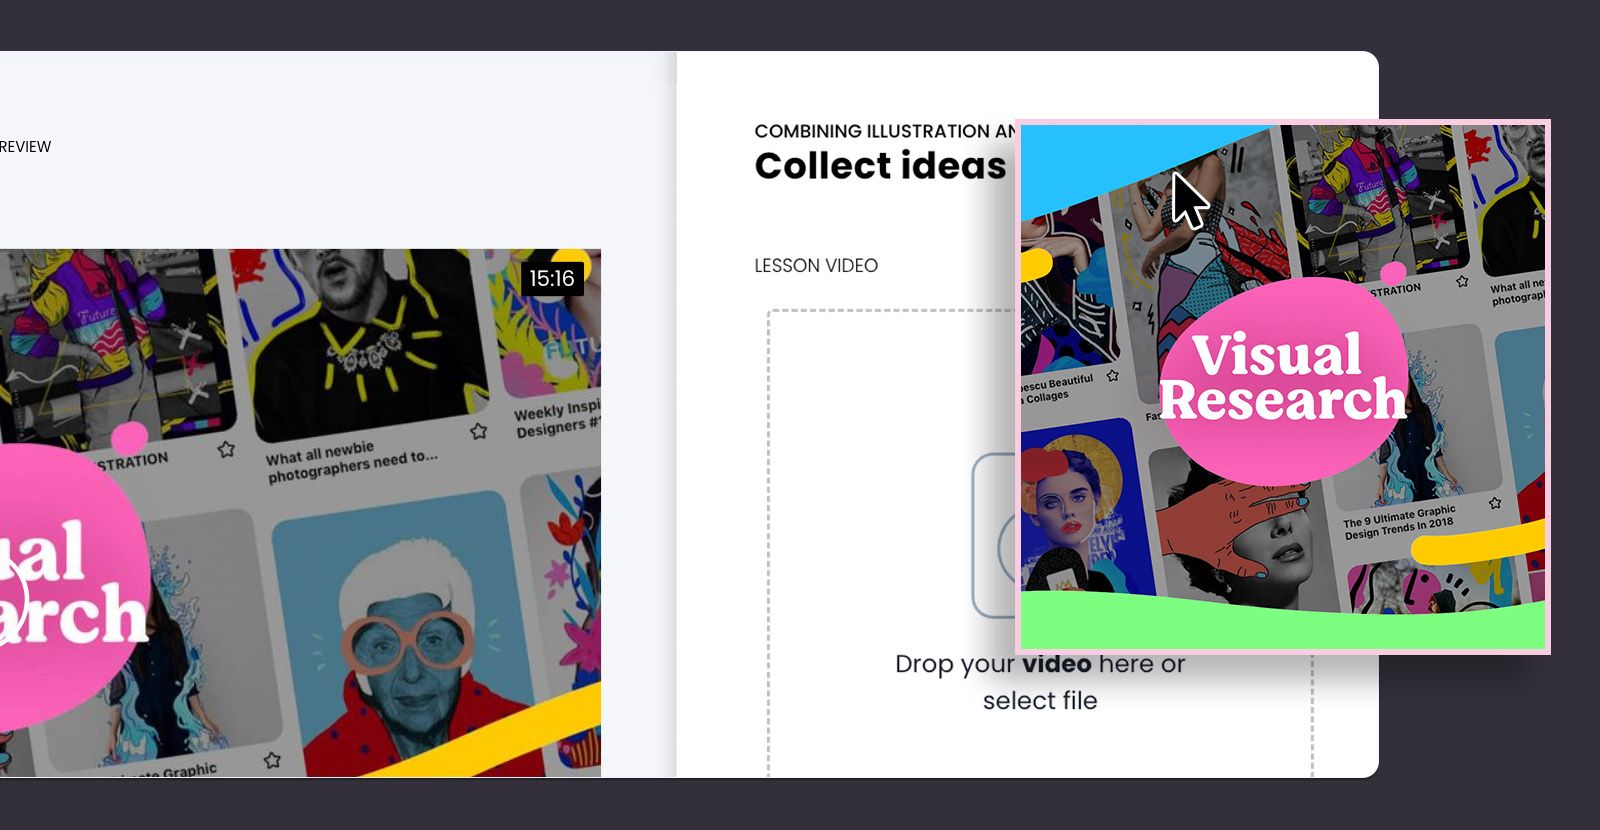
How do I get it in CreativeMindClass
- In the Contenttab In Contenttab, you can add the video of your lessonrich that contains visuals.
6. Include files that can be downloaded
Make your lessons more interactive with downloadable files. These include worksheets, native files, or other materials which students download, print, add in or edit. Use software like Pages/Word, Google Slides, Prezi, Photoshop, or Canva to make high-quality, customizable files. Students can even upload their finished files for feedback from you.
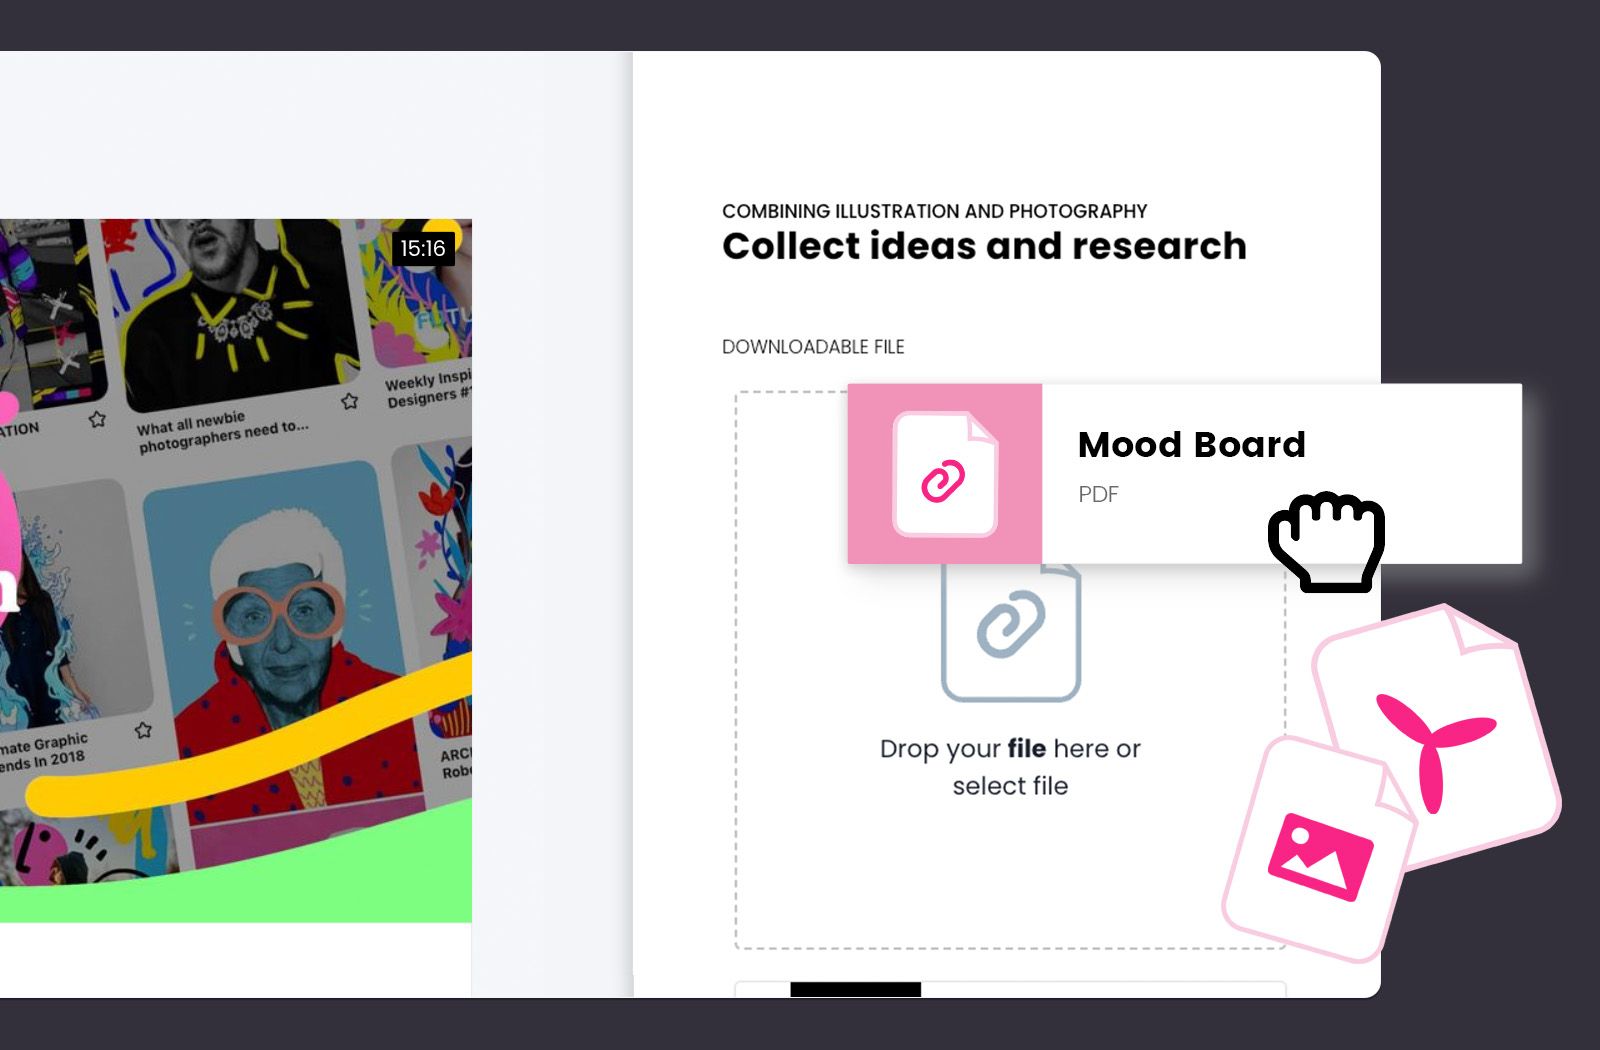
How to do it within CreativeMindClass
- Navigate to the tab for Content of the lesson
- Select DOWNLOADABLE FILE to upload the file.
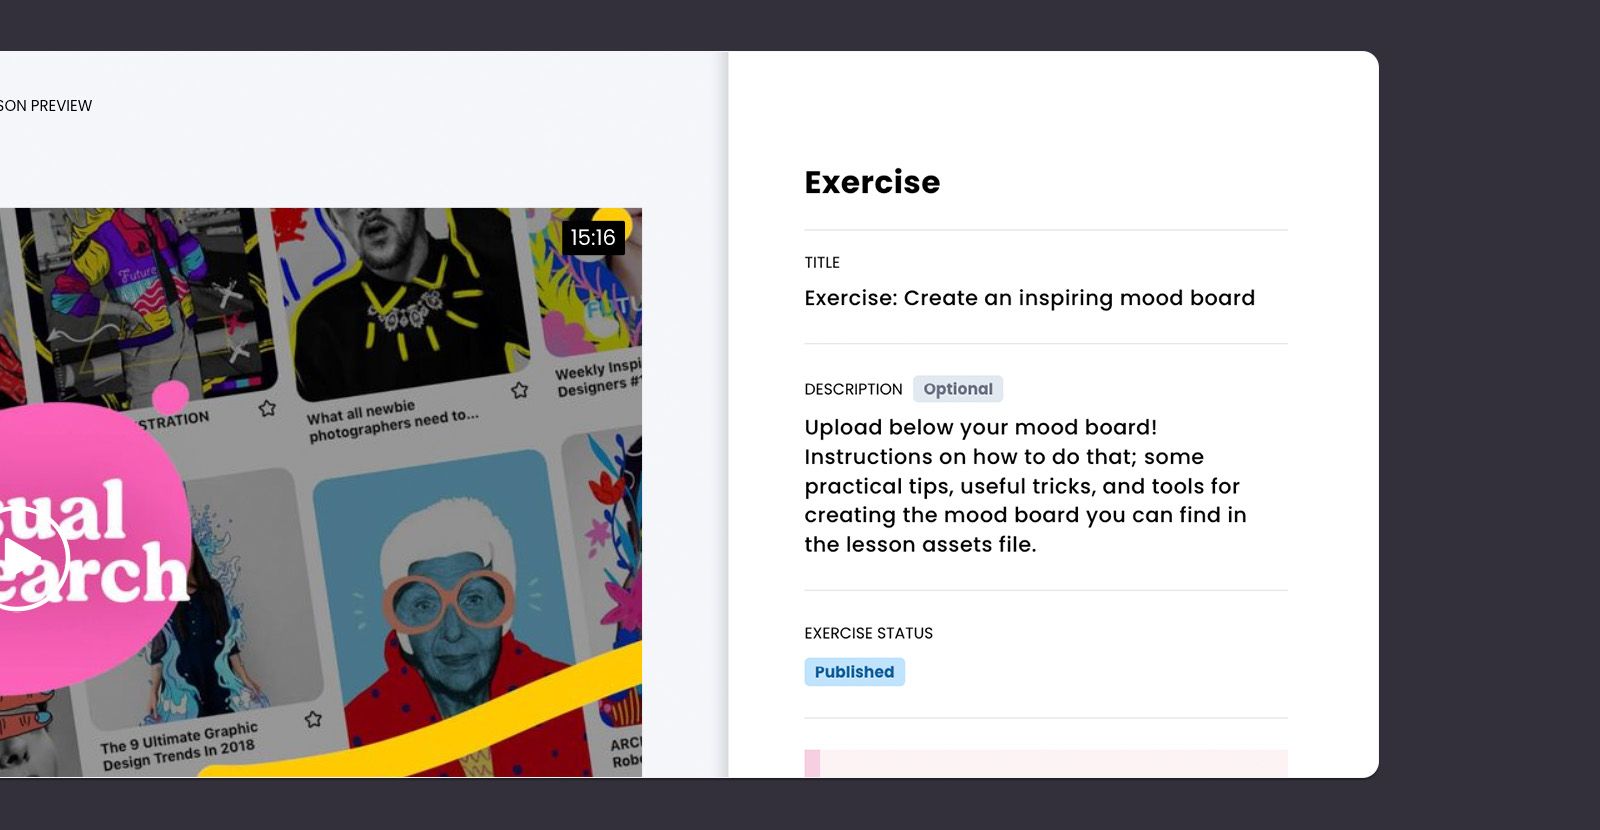
7. Add exercises
Incorporate exercises into your classes to engage students in active learning. It will also assist them in achieving their goals. You might consider adding tasks, homework assignments activities, brainstorming, or the final project to your class. Check out your list of lessons and develop an engaging education experience for your students.
It is possible to create an exercise for each lesson. Write the instruction down and then drag your documents.
PRO TIP: Creating an online course is a lonely process, but it's important to keep in mind that you're making this course with your students in mind. Make sure to engage your students by asking for feedback, answering questions, and creating interactive elements such as assignments. This can help establish a sense that there is a community and keep students engaged all through the class.
How do I get it within CreativeMindClass
- Go to the tab for Content of the lesson
- Click on EXERCISE to create an exercise to teach your class.
7. Make sure to share it with your friends and colleagues.
Share the course with your viewers. Connect with your audience and engage with them on an even deeper level in order to increase the growth of your company.
Begin by putting in the link to your site your social media account and email or blog, and start the promotion marketing.
How to do it in CreativeMindClass
- Select Settingsin main menu to access it.
- Copy CreativeMindClass web address.
- You can share your course with your students.
Start your Online Course
Create a visualy stunning website for your art course. - Make use of this template
Enjoy ready-to-go website
Develop multiple course
Include bonus materials
Active learning is a must.
Register for free, with no limitations on time
SHARE The link has been copied!
This post was posted on here